

Reconstruction Final Walkthrough Austin: What to Check

A reconstruction final walkthrough Austin homeowners can handle with a written checklist is more useful than a quick look around. The goal is to compare visible, completed work with the agreed scope, identify questions, and understand what happens next. If you are also sorting out the larger rebuild process, start with Rhino Renovations’ insurance reconstruction guide for Austin homeowners; a walkthrough is one part of a much larger project.
What is a reconstruction final walkthrough?
At Rhino Renovations, the practical purpose of a final walkthrough is to review visible completed work against the agreed project scope, note open questions, and clarify follow-up. It gives the property owner and contractor a shared opportunity to look at the areas included in the project before treating the work as wrapped up.
A walkthrough is a conversation and a visual review, not a guarantee that every concealed condition has been found. It is not the same thing as a municipal inspection, an independent specialist assessment, or a warranty decision. Those processes may have separate requirements and documentation. If your project involved permits or an inspection, ask what applies to the specific work and request the relevant records rather than assuming a walkthrough replaces them.
It helps to keep the project’s different questions in separate lanes. One question may be whether a visible finish matches the approved selection. Another may be whether a fixture operates. A third might concern a permit, insurance paperwork, or a newly noticed condition. Record each item clearly, but do not assume they have the same owner, timing, or resolution process. The company’s overview of specialties and project approach offers broader context about reconstruction and remodeling work.
How do you prepare before the walkthrough?
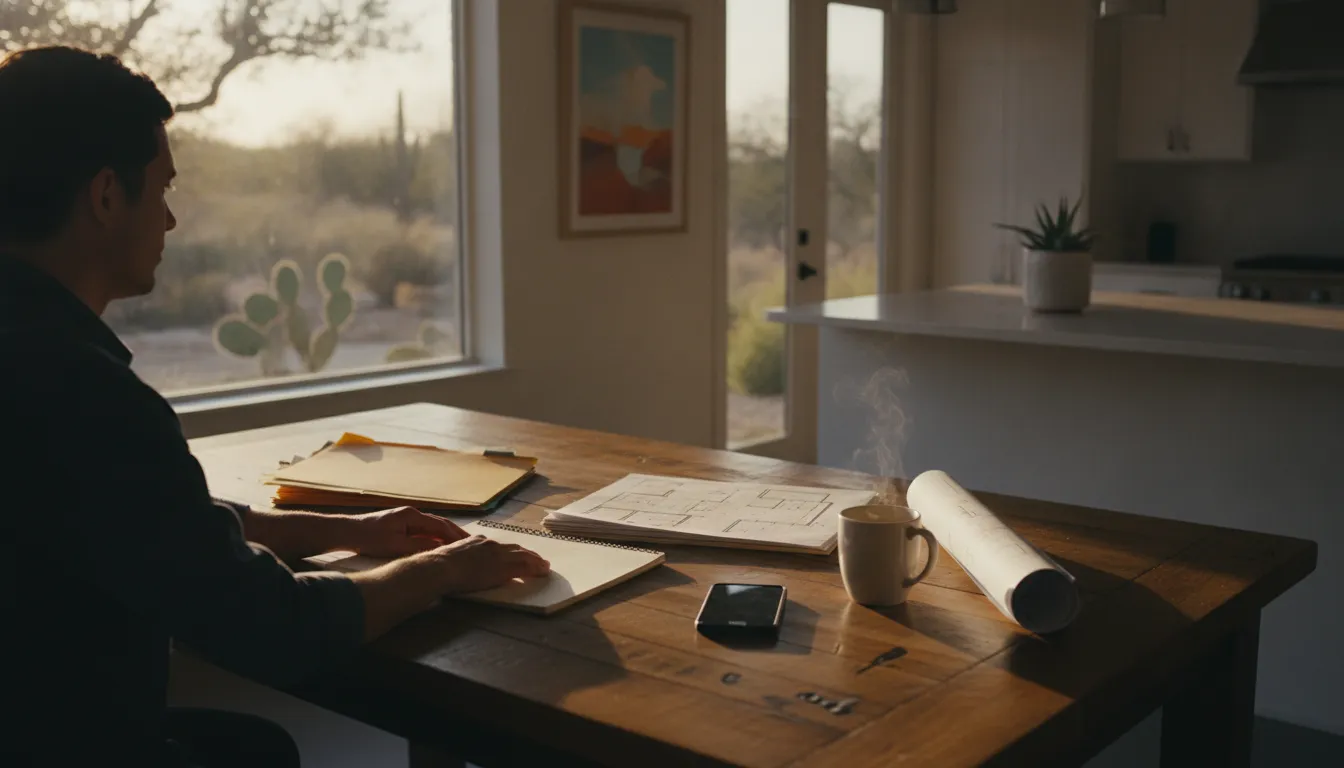
Prepare by gathering the written scope and approved changes, listing the areas to review, and setting aside enough time to walk through them in good light. Bring the estimate or contract, selection notes, relevant messages, and records you have received so the conversation can refer to documented decisions instead of memory.
Before the meeting, make a simple room-by-room list. Include only areas affected by the work, plus transitions where new work meets existing surfaces. Mark the exact location of each question. A short description such as “small unpainted patch beside the north bedroom door casing” is more useful than “paint needs work.” If a photo from before construction or during the job helps explain the concern, save it with the matching room name.
Gather the scope, approved changes, finish selections, and relevant project messages.
List every repaired or replaced area you expect to review.
Write down questions about operation, cleaning, care, access, or timing.
Make the rooms accessible and ensure lights can be switched on.
Ask who will record open items and how you will receive the written list.
Have a phone or notebook ready for clear notes and photos, where practical.
Use the scope to separate “included” from “not sure.” If you believe something is missing, show the relevant description or approved change and ask how it applies. If the paperwork is unclear, identify the exact wording that is confusing. Avoid treating a walkthrough as the right time to reconstruct the whole project history from memory; a short, organized folder makes the review calmer and more precise.
For damage-related projects, keep the repair conversation distinct from questions about the original event or an insurance claim. Rhino’s water damage repair guide for Austin homeowners describes the broader repair context. The insurance reconstruction contractor guide is also useful background on how reconstruction fits into a project; it does not replace the signed scope for your own work.
What should you check room by room?
Check whether visible work looks complete, operates as expected, and matches the agreed scope and selections; document anything uncertain instead of guessing at the answer. Start with repaired or replaced areas, then look at the edges and transitions where new finishes meet older work.
Walls, ceilings, and paint
Look at repaired surfaces from more than one position and in ordinary room lighting. Note visible gaps, ridges, missed areas, uneven texture, or differences that concern you. Write down whether the issue appears in one spot or across a larger area. Ask whether the finish was meant to blend with existing surfaces or whether the written scope describes a particular treatment. A concern is easier to assess when you identify the location and what you can see, rather than using a general judgment such as “the wall looks wrong.”
Check corners, edges around trim, and the transition to an adjacent surface. Do not assume every variation is a defect or decide on the spot that it is acceptable; ask how the installed finish relates to the scope and any documented selection. If a concern appears only in certain lighting, mention that and, if useful, take a photo that shows the condition without using filters or edits that change its appearance.
Flooring, thresholds, and transitions
Walk the repaired area at a normal pace. Look at thresholds, edges, doorways, and changes in material. Note a visible gap, loose edge, or transition that does not appear finished. If the work included a flooring replacement, ask what care instructions apply and whether there are temporary restrictions before moving furniture or rugs back. Do not drag heavy furniture, pour water, or otherwise test a surface in a way that could damage it. If the floor feels unstable or presents a safety concern, identify the location and avoid repeated testing.
Where new flooring meets an older floor, compare the visible transition with what the scope or selection describes. A difference in height, color, or material may be a question about the approved plan rather than an incomplete item. Record what you observe and ask which document or decision governs that detail. Rhino’s tile flooring planning article can help with general flooring questions, but the installed work should be discussed against your project’s own specifications.
Doors, cabinets, trim, and hardware
Open and close doors or drawers that were included in the work. Check whether hardware feels secure and whether a door catches or a drawer stops short. Do not force anything that resists movement. Record the item and the action that produced the concern: for example, “hall closet door catches at the lower hinge when closing.” This helps distinguish an observable operating issue from a vague impression.
Look along trim, casing, and baseboards for unfinished joints or visible gaps that you want clarified. Compare installed hardware or finishes with the approved selection when you have it. If something differs, point to the selection or change order and ask the contractor to explain the difference. Keep the discussion specific: identify the feature, the documented choice, and the question to resolve.
Fixtures and components that operate
If the project included a fixture or other operating component, ask for a safe demonstration and any care instructions. Use only controls you understand, and do not open equipment or attempt a repair during the walkthrough. Note what does not operate as expected and the conditions under which you noticed it. Technical questions involving electrical, plumbing, structural, or other specialized work may need assessment by a qualified professional or a separate inspection.
For any item that should not be operated until follow-up, ask for that instruction in writing and clarify who will provide the next update. Do not put yourself or anyone else at risk just to test an item. The purpose is to identify questions and agree on an appropriate next step, not to make an unsafe test.
Cleanliness, access, and items left behind
Look at the work area for visible debris, protective materials, or belongings that need to be removed or returned, according to the project arrangement. Ask which rooms or features are ready for normal use and whether any part of the work remains underway. Clarify if there are instructions for moving items back, cleaning a new surface, or protecting a finish. Do not assume a surface can be cleaned with any household product; ask what is appropriate for the installed material.
Check that access panels, doors, and controls that are part of the completed work are reachable. If you cannot inspect an area because it is blocked or not ready, write down that it was not reviewed and ask when it can be checked. A useful walkthrough record makes the boundary of the review clear: what you could see, what you could operate safely, and what still needs access or explanation.
How do you record a punch list and separate other concerns?
A punch-list item is generally a specific, visible detail that appears unfinished or needs clarification; a new or technical concern may require a different scope, review, or specialist. Write both down, but label them accurately so the follow-up path is clear.
For each item, record the room, exact location, what you observed, and the question or requested next step. Add a photo when it helps. Keep the language neutral and concrete. “Living room, west wall: narrow unpainted strip next to the window trim; please confirm whether it is included in the finish work” gives the other person something actionable. “The whole room is sloppy” does not identify a location or a specific resolution.
What you notice | How to record it | Useful follow-up question |
Visible finish detail | Room, precise location, and a clear photo if useful | Does the agreed scope include this detail, and what is the next step? |
Feature does not operate as expected | Describe what happens; do not force or dismantle it | Can it be demonstrated or reviewed safely? |
Installed item appears different from selection | Note the installed item and identify the approved selection or change | Can we compare the installed item with the documented choice? |
Possible concealed or technical issue | State only what you observed and when you noticed it | Does this need a qualified specialist or separate inspection? |
Area could not be reviewed | List the blocked or inaccessible area and why it was not checked | When and how can this area be reviewed? |
For example, suppose you see a small paint variation near a repaired doorway, a drawer that sticks, and a damp-looking spot in a different room. Put each on its own line. The paint variation is a visible finish question; the drawer issue is an operation question; the damp-looking spot may need a separate assessment. One combined note such as “three problems in the house” makes it harder to assign the right next step. A clear record does not prejudge fault or cause. It captures the observation and asks for a response.
When damage began the work, do not treat the walkthrough as a decision about insurance coverage or claim payment. Keep project completion questions and insurance questions distinct, and refer to the appropriate project or claim contact for each. Rhino’s homeowners insurance and water damage overview offers general background, while your own policy and claim documents govern your specific situation.
Which documents and approvals should you confirm?
Before closing the review, confirm which items are complete, which remain open, what project records are available, and who will handle follow-up. Ask for the written punch list and keep it with your scope, approved changes, photos, and notes.
Ask whether operation or care instructions apply to completed work and request copies if available. If an inspection or permit applies, ask what records are available and whether any required step is still pending. A contractor-owner walkthrough does not itself establish that a city inspection has occurred or that a permit requirement has been satisfied. For Austin-specific permitting questions, the City of Austin Development Services Department is the place to check project requirements; requirements can vary based on the work and property.
The City of Austin’s Open Data portal provides access to public city datasets, but it is not a substitute for project-specific permit records, inspection results, or the documents for your property. Keep those records in the project folder and request them from the relevant source. This distinction helps prevent a general municipal data page from being mistaken for approval of a particular job.
Before ending the meeting, repeat the open items in plain language and agree on how updates will be shared. For each item, note who is expected to respond and what information is still needed. Avoid writing an assumed completion date unless the responsible person has confirmed it. Ask whether any area should remain unused while follow-up work is pending, and record that instruction.
Keep a copy of the final list and any later updates. If you receive a revised scope or an explanation, file it with the earlier documents rather than replacing the record. That way, you can see what changed and when. For more context on the company’s work and completed spaces, visit the Rhino Renovations project examples and its about page. If the next question is about the services involved in your project, review the specialties overview as well.
What should you do after the walkthrough?
After the review, use the written list to track each answer or remaining item, and contact the appropriate project representative if a concern appears later. Keep the original notes, add the date of any follow-up, and attach related photos or messages so the sequence stays understandable.
Where the project involved more than one contractor or specialist, be clear about who you are contacting and what you are asking them to review. A concise message can include the project address, room, date noticed, a short description, and a photo if useful. Keep the tone factual and ask for the next step. This makes follow-up easier to understand even if the person reading the message was not at the walkthrough.
If you are planning a future reconstruction or remodeling project, a consultation can be a useful place to discuss scope questions and the work involved. Rhino Renovations provides a free consultation; you can review consultation options and prepare the questions you want answered before the conversation.
Frequently Asked Questions
Does a final walkthrough rule out problems that may appear later?
No. A walkthrough is a review of visible and accessible work at that time. It cannot establish that concealed conditions do not exist. Ask how to report a concern if something becomes apparent after the meeting.
Is a contractor-owner walkthrough the same as a city inspection?
No. A project walkthrough and any inspection or approval required by the permitting authority are separate. Ask which requirements apply to the specific work and confirm the status through the appropriate records.
Should I sign a completion document if items remain open?
First ask what the document means and how it treats outstanding items. Make sure questions and unfinished work are recorded in writing and keep a copy. If you are unsure about the effect of a document, seek appropriate professional advice before signing it.
What if I find a concern after the walkthrough?
Note the date, location, and what you observed, then contact the appropriate project representative. If it may be an immediate safety issue, avoid the area and contact a qualified professional or emergency services as appropriate.
A written scope, a deliberate room-by-room review, and clear follow-up notes give Austin property owners a practical way to close out reconstruction work with fewer unanswered questions.

Comments