

What Is Interior Painting?

Updated: 6 days ago
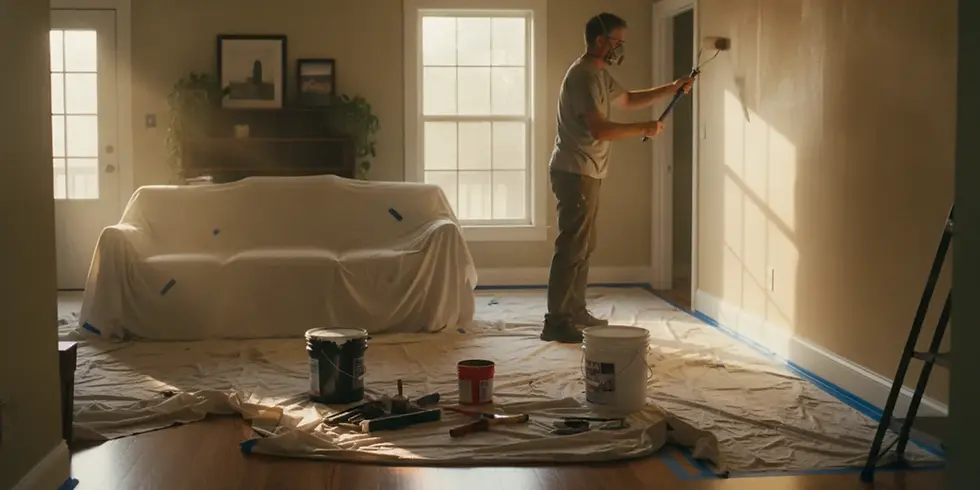
Hi, I'm Jerson. When homeowners ask what interior painting involves, they're usually trying to figure out more than which color to choose. They want to know what a good paint job includes, how to prepare the room, and how to compare contractors. Interior painting is the process of preparing and coating surfaces inside a home, but the lasting result depends just as much on the work before the paint goes on as on the final color.
In Austin, a project might be a simple refresh in one room or the final step after drywall repair, water damage work, or a larger remodel. The right plan starts with the condition of the surfaces and the scope of the job. Here's a straightforward look at what to expect and what to ask.
What does interior painting include?
Interior painting includes checking the surfaces, protecting the room, preparing walls and trim, applying the specified coatings, and cleaning up. The exact scope depends on the rooms, materials, existing finish, and condition of the home. A written plan should make clear what is and is not included.
A typical project begins with a walkthrough. The painter notes the surfaces to be coated, visible cracks or holes, peeling or damaged areas, stains, and details such as doors, baseboards, and window trim. The homeowner and contractor should also confirm the color, sheen, number of coats planned, and who is moving furniture or removing wall hangings.
Preparation may include moving or covering furniture, protecting floors, removing switch and outlet covers where appropriate, cleaning surfaces, sanding rough spots, filling small holes, and applying primer where needed. Damaged drywall or a persistent stain may need more than routine prep. Those conditions should be discussed before painting begins so they are not mistaken for a simple cosmetic touch-up.
It helps to separate ordinary preparation from repair work. Ordinary prep gets a sound surface ready for coating; repairs restore a damaged or uneven surface. During a walkthrough, ask the contractor to point out which is which. You can confirm whether the estimate includes each item below:
Cleaning dust or residue from the surfaces scheduled for paint.
Smoothing rough edges or minor imperfections that are within the agreed scope.
Filling small holes and allowing repair materials to dry before sanding or priming.
Applying primer to new patches or other areas where the surface needs it.
Protecting floors, hardware, fixtures, and belongings near the work area.
This is not a universal checklist for every room. The material, previous coating, and condition can change what is appropriate. For example, a wall with significant texture damage or moisture-related deterioration may need a separate repair plan before it is ready for paint. It is better to identify that early than to assume one coat will make the underlying issue disappear.
A useful walkthrough is more than a quick look at the middle of each wall. Check the edges where walls meet ceilings, around windows and doors, behind furniture, and along baseboards. These are places where old caulk, dents, dust, or earlier patching can show once the surface is freshly coated. Make a simple room-by-room list with the contractor: the surfaces to paint, repairs to price or complete, items you will move, and any areas that should remain untouched. If a room includes built-in shelves or detailed trim, spell out whether those are part of the job. The list gives both sides a shared reference when the crew arrives and during the final walkthrough.
After preparation, the crew applies paint to the agreed surfaces, checks the finish as it dries, addresses agreed touch-ups, and removes protective materials. A final walkthrough is a useful time to look at corners, edges, trim, and areas around fixtures in good light. For a broader look at how a home project can be organized, see Rhino's home renovation timeline guide.
How do you know whether a room is ready to paint?
A room is ready when the underlying surfaces are sound, clean, dry, and appropriate for the chosen coating. Paint can improve the appearance of a wall, but it cannot make a loose, damp, crumbling, or poorly repaired surface sound.
Look closely at the walls and ceiling before choosing colors. Small nail holes and minor scuffs may be part of ordinary preparation. Peeling paint, soft drywall, bubbling, recurring discoloration, or a musty smell calls for a closer look at the cause. If water has affected the wall, the leak or moisture problem should be addressed and the materials should be dry before the area is closed up and painted. Covering a symptom without understanding it can leave the real repair unfinished.
For drywall damage, ask whether the work includes patching, taping, texture matching, sanding, and priming, or only painting over a prepared surface. These are different scopes. Rhino's drywall repair guide explains why repair conditions and scope matter. If the damaged area is larger than a small cosmetic patch, it can help to discuss the repair and finish as one coordinated job.
Also consider what is already on the surface. A glossy coating, dark color, patchy repairs, or a stain can change the preparation and primer needed. Tell the contractor what you know about previous paint or repairs, and point out areas that have been patched before. The estimate should acknowledge visible conditions and explain how concealed issues will be handled if they appear after work starts.
Before calling a surface ready, ask what "dry" and "sound" mean for the particular condition. A new patch needs time to set and dry as directed for its material; rushing to cover it can make the repair stand out. A stain may need a targeted primer, but that does not replace finding and correcting the source of moisture. If a wall feels soft, the paint is lifting, or damage continues to change, pause the cosmetic work and have the underlying condition evaluated. This keeps the painting plan from being treated as a substitute for repair.
Which paint, finish, and color should you choose?
Choose paint based on the surface, room use, desired appearance, and the manufacturer's directions, not color alone. A sample on the actual wall is more reliable than judging a small chip under store lighting.
Paint sheen affects how a surface looks and how visible its imperfections may be. Flat or matte finishes have little reflection, while satin and glossier finishes reflect more light. A glossier surface may be easier to wipe in some settings, but it can also draw attention to unevenness. There is no single sheen that is right for every room; ask the contractor to explain what is appropriate for the surfaces and use in your home.
Color changes with daylight, room orientation, lamps, nearby finishes, and the time of day. Before committing, place samples where you can view them against the floor, counters, trim, and furnishings. Check them in morning and evening light. If you are comparing two close shades, put both on the wall rather than relying only on a screen.
For a whole-house refresh, it may help to select a simple palette that works from one connected space to another. For a single room, consider whether the walls should blend with existing trim and flooring or become the focal point. Before choosing a finish, look at the wall in the room's actual light and consider how much surface variation you want to show. A lower-sheen finish can soften the look of minor imperfections, while a higher-sheen finish may make uneven areas more noticeable. Ask the contractor to compare the options on the actual surface, especially if the wall has patches or texture.
When you meet with a contractor, be ready to share the colors you are considering and any finish preferences. You do not need every decision finalized at the first conversation, but the estimate and schedule should identify when selections must be confirmed. For a project that includes more than paint, Rhino's specialties page outlines the kinds of home work the team handles.
It also helps to look at color in relation to how the room connects to the rest of the house. In an open living and dining area, two wall colors can meet at a corner or continue across one uninterrupted surface, so decide where each color should stop before work starts. In a bedroom, consider how the chosen shade looks beside bedding and window coverings that will stay in place. Write down the selected color name and product details, plus the room or surface where each one belongs. That small record makes it easier to confirm the right paint is being used if the project covers several rooms or includes a later touch-up.
How should you compare interior painting estimates?
Compare the written scope, preparation details, materials, exclusions, schedule, and cleanup, not just the bottom line. An estimate is useful when it lets you understand what work you are agreeing to and where the contractor expects decisions or additional repairs.
Ask each contractor to describe the same rooms and surfaces. If one estimate includes ceilings and trim and another covers walls only, the totals do not represent the same job. Ask about patching, sanding, primer, number of coats, paint selection, protection of floors and furniture, and how touch-ups are handled. A clear estimate should say what happens if the crew finds damage that was not visible during the initial walkthrough.
Estimate detail | What to confirm | Why it matters |
Surfaces and rooms | Which walls, ceilings, doors, and trim are included? | Prevents different bids from covering different areas. |
Preparation and repairs | Are cleaning, sanding, patching, texture work, and primer included? What is excluded? | Prep often determines whether the finished surface looks even. |
Paint and application | Who selects the product and sheen? How many coats are planned? | Sets expectations for materials and finish. |
Protection and cleanup | How are floors, fixtures, and furniture protected? What is cleaned up? | Clarifies how the home is treated during the work. |
Timing and access | What is the expected sequence, and what must the homeowner do first? | Helps coordinate room use, furniture, pets, and other trades. |
Changes and follow-up | How are concealed damage, added work, and touch-ups documented? | Gives both sides a process when the original scope changes. |
Use the walkthrough to ask practical questions. Who will be the point of contact? How will changes be approved? Will the crew need access to the home on more than one day? What should be moved before the start? How will the team handle a room that cannot be cleared completely? Direct answers matter. You should not have to guess what is happening in your own home.
One practical way to compare proposals is to mark each scope item as included, excluded, or not yet determined. If the estimate says "prepare walls" without describing what that means, ask for the specific work to be listed. If one contractor expects you to move furniture and another includes moving or covering it, note that difference instead of assuming both proposals provide the same service. Keep a copy of any written changes, including added repairs and any effect on the schedule. This does not require complicated paperwork; it gives you a clear record of the plan everyone agreed to.
Be cautious about treating a low number as a complete comparison when the estimate leaves out important details. At the same time, a higher estimate is not automatically better. Ask the contractor to explain any differences in scope or materials, then compare like with like. Rhino's about page shares the company's approach to doing the job right, not just fast.
How do you prepare your home for the crew?
Prepare by agreeing on room access, moving small belongings, protecting valuables, and confirming what the painting crew will handle. A quick conversation before the start can prevent avoidable delays and confusion.
Take down wall art, curtains, and fragile items from the work area unless you have agreed on another arrangement. Move smaller furniture and belongings out of the way. Confirm who will move larger pieces and whether the contractor needs a clear path through the home. Put away items on shelves and protect anything especially valuable or delicate.
Discuss pets, children, work-from-home needs, and access to rooms in advance. Ask what ventilation and drying guidance applies to the selected products, and follow the manufacturer's instructions and the contractor's direction. Do not assume a room can be used again at a particular time without checking. If the project covers several connected spaces, ask how the work will be sequenced so you can plan around it.
Before work begins, walk through the project together. Point out surfaces that concern you and confirm the colors and boundaries of the work. Afterward, use the agreed walkthrough to identify any items that need attention. If the work is part of a larger renovation, coordinate the order with other trades rather than scheduling final paint before dusty or disruptive tasks are done. The DIY renovation planning guide also covers why project sequence and preparation deserve attention.
For a multi-room project, ask which rooms will be worked on first and what will remain accessible during the day. You might plan to keep a hallway open, relocate a desk for a few days, or arrange another place for children and pets away from active work areas. Before the first day, confirm where materials can be set down and how the crew will get in and out. These details are ordinary, but they can make the work easier to live around. At the end of each work period, ask what needs to remain undisturbed and whether there are product-specific drying or ventilation instructions to follow.
When is painting part of a larger repair or remodel?
Painting belongs near the finish of a project, after repairs and surface preparation are complete. It may be a stand-alone update to sound walls, or it may follow drywall work, a bathroom remodel, or reconstruction after property damage.
For a planned remodel, agree on which work comes first. Demolition, drywall installation, texture work, and other dusty tasks can affect a fresh finish. The contractor should identify where paint fits in the sequence and whether touch-ups are expected after other work is completed. If you are considering a bathroom update, you can review Rhino's Austin bathroom remodel overview for an example of a broader project context.
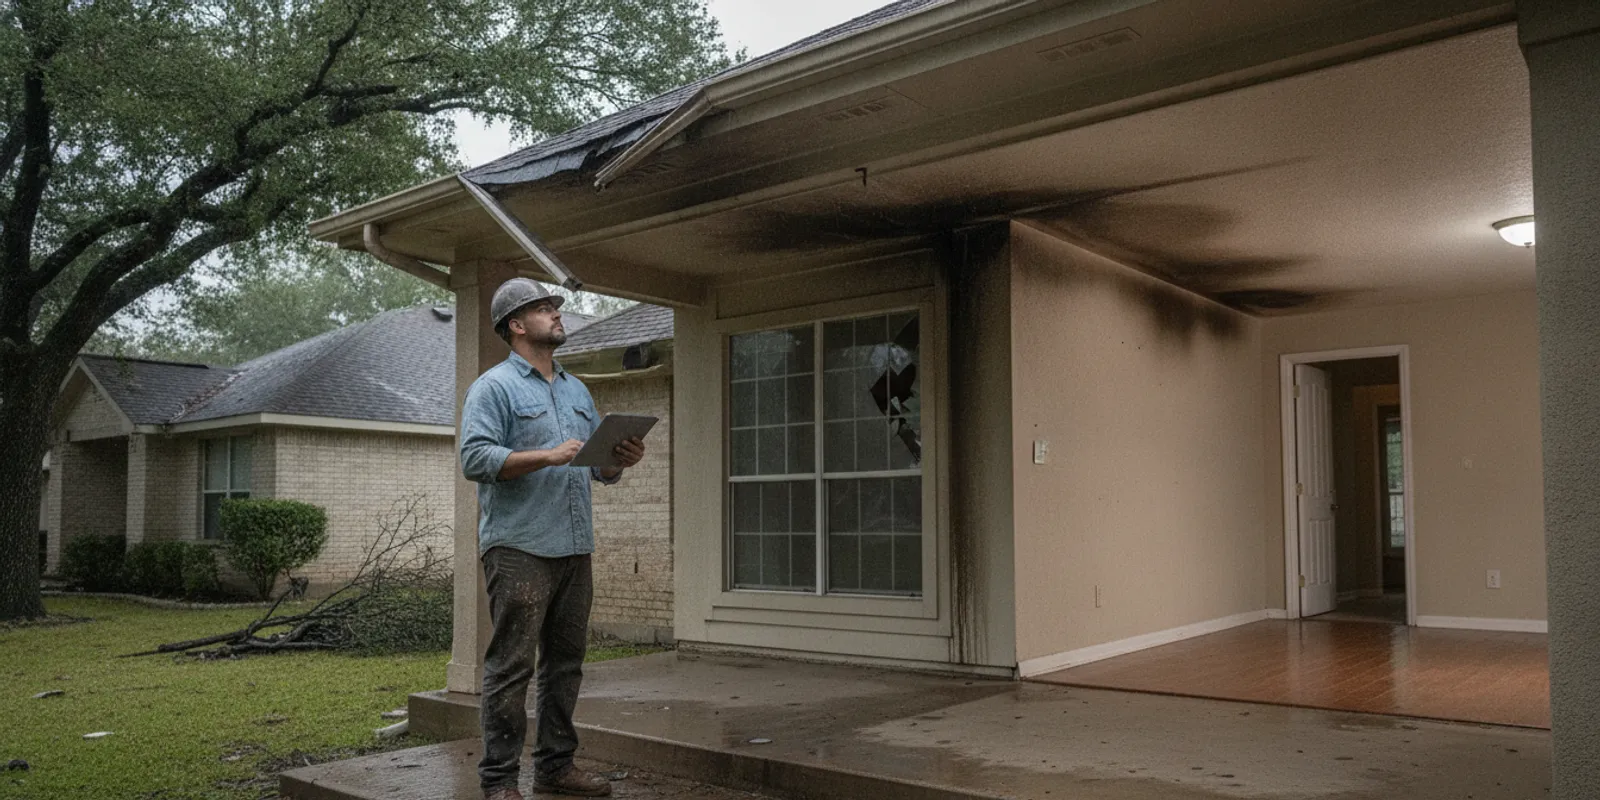
After water or fire damage, painting is only one visible part of putting a home back together. The underlying cause and affected materials need proper attention before cosmetic finishing. Keep records of what was damaged and what was repaired, and make sure the written scope describes the work being done. For a general view of the company's project work, take a look at the Rhino Renovations projects page.
Not every wall needs a full repaint when there is localized damage, and not every patch will disappear with a quick coat. A repair may need texture and primer, and a color match can vary with age, light, and the existing finish. Ask what result is realistic for the repair and whether repainting a larger continuous wall would provide a more consistent appearance. The answer depends on the actual surface and should be discussed during an evaluation.
Sequencing matters in a remodel because several trades may work in the same room. If a plumber, electrician, or tile installer still needs to work nearby, confirm whether their work could disturb finished walls or trim. A sensible plan identifies the point when the surface is ready, who is responsible for completing any last repairs, and whether a final touch-up is part of the scope. Where damage repair and painting are both needed, talk through the handoff: the repair should be complete, dry, and ready for the specified coating before finish work begins. Clear ownership of that transition helps avoid gaps between trades.
What should you ask before hiring an interior painting contractor?
Ask for a clear written scope, a realistic work sequence, and a named process for communication and changes. You are looking for a contractor who can explain the work plainly and set expectations before the room is covered in drop cloths.
Which surfaces and rooms are included, and what is excluded?
What preparation is planned for the current condition of the walls and trim?
Who supplies and selects the paint, and how are colors and sheen confirmed?
How will floors, furniture, fixtures, and nearby rooms be protected?
Who is my contact if I have a question during the work?
How will added repairs or other changes be approved and documented?
What should I do before the crew arrives, and what should I expect at the final walkthrough?
Look for answers tied to your home rather than a generic promise. A contractor should be willing to walk the rooms, listen to your priorities, and explain tradeoffs. If the wall condition is uncertain, ask how that uncertainty affects the scope. If you are collecting ideas, Rhino's guide to common bathroom remodel mistakes shows why questions about planning and coordination are useful on projects beyond paint alone.
It can help to write your questions down before the consultation and keep the answers with the estimate. Include the details that affect your household: rooms that must remain usable, furniture that cannot be moved, any known wall damage, and your preferred finish or color. Ask how you will be notified if the contractor discovers a condition that changes the original plan. A clear response should describe the next step, such as pausing work in that area, discussing options, and documenting any approved change. This is a practical way to keep decisions from being made in a hurry once work is underway.
Rhino Renovations works with homeowners in the Austin area on remodeling and repair projects. To learn more about the team and its work, visit the Rhino Renovations home page or contact the company to talk through the condition and scope of your project.
Frequently Asked Questions
How long does interior painting take?
There is no single timeline for every home. The number of rooms, surface condition, preparation, repairs, product instructions, and access all affect the sequence. Ask the contractor for a project-specific schedule and for guidance on when each room can be used again.
Should walls be washed before painting?
Surfaces should be clean enough for the coating to adhere, but the right preparation depends on the wall and the type of soil or residue. Ask the contractor what cleaning is included. Grease, heavy grime, and stains may require specific treatment rather than a quick wipe.
Can you paint over a water stain?
Do not treat a stain as a paint-only issue until you understand why it appeared and confirm the area is dry. If moisture or damage remains, covering it may hide a symptom without addressing the problem. Have the condition assessed and discuss any needed repair and primer before painting.
Do all walls need primer?
Not always. Primer may be needed on new drywall, repairs, stained areas, or surfaces where the existing finish requires it. The contractor should explain where primer is planned and why, based on the surface and product directions.
What should an interior painting estimate include?
It should identify the rooms and surfaces, preparation and repairs, paint selection responsibilities, application plan, protection, cleanup, schedule assumptions, and how additional work is handled. When those details are clear, you can compare estimates more fairly.
Every home and wall surface is a little different. Start with an honest look at the condition, define the work in writing, and make sure you understand the plan before the first coat goes on.
Comments